Hey all! I've been MIA for the last little bit due to my brother getting married. I've not had time to do anything fun or crafty. We've also been working on the house roof, but I didn't feel that warranted a post, we had some Amish do the steep part so I watched and stayed in the ac. :) They worked so quick and were really good about cleaning up after them selves too.
I'm on call for EMS today so I've had some time today. I whipped up a "koozie" for my camelpak H20 bottle. I HATE when it leaves water splotches everywhere unless you use roomtemp water. Well I like drinking ice cold water, especially at work.
I got on pinterest (follow me here!) and happened to see a pin of a "drip free drink sleeve". I didn't even repin the pin, but you can check out the tutorial here. I loosely followed it, and I mean loosely. I don't even know if I even ready 3 sentences of it. I looked, looked at the pictures and was like, I can do that. Simple enough.

So I did. It took maybe an hour, just because of multitasking and some modifications. The tutorial called for batting or felt. Well as much as I like to sew, I'm pretty Dutch so I only buy what I need and didn't want to make a trip to our wonderful wally world for a small piece of it. So I used an old (clean) sock. R insists that I keep his holey ones so we have a pretty big stock pile. And back in highschool I used to always use a sock around my water bottle to avoid the sweat from it getting everywhere.
It's a pretty simple project.(**If you're using batting like the link, follow her directions not mine! Mine is different because I didn't cut the sock into a flat piece)
I did the middle piece first so that if I screwed it up no one could tell. :) I took a rectangle that fit around the bottle, (make sure you account for wider middles, from experience!) and sewed the ends to make a tube so that the seam is on the inside(wrong) side of the fabric tube. Then I cut a circle the same size of the bottom and sewed it to the tube. This can be a little tricky but if you draw the circle out and then just follow the line when sewing you should be fine. Then make sure this fits right side towards the bottle around it.
I cut the sock to length, it was right around the heel part. Then I sewed the sock to this piece around the top, nothing fancy just to keep it in place. No one is going to see it.
Make a tube identical to the inner one, ok, not quite identical, make sure there's enough room to fit the other two layers. I also made it taller so that I had enough to be able to fold over and cover the top to hold everything together.
When you're putting it together make sure you put right sides out, so there's a right side to the bottle and to the outside.
I top stitched around the top part of the koozie after folding the outer layer over and under so raw edges were hidden.
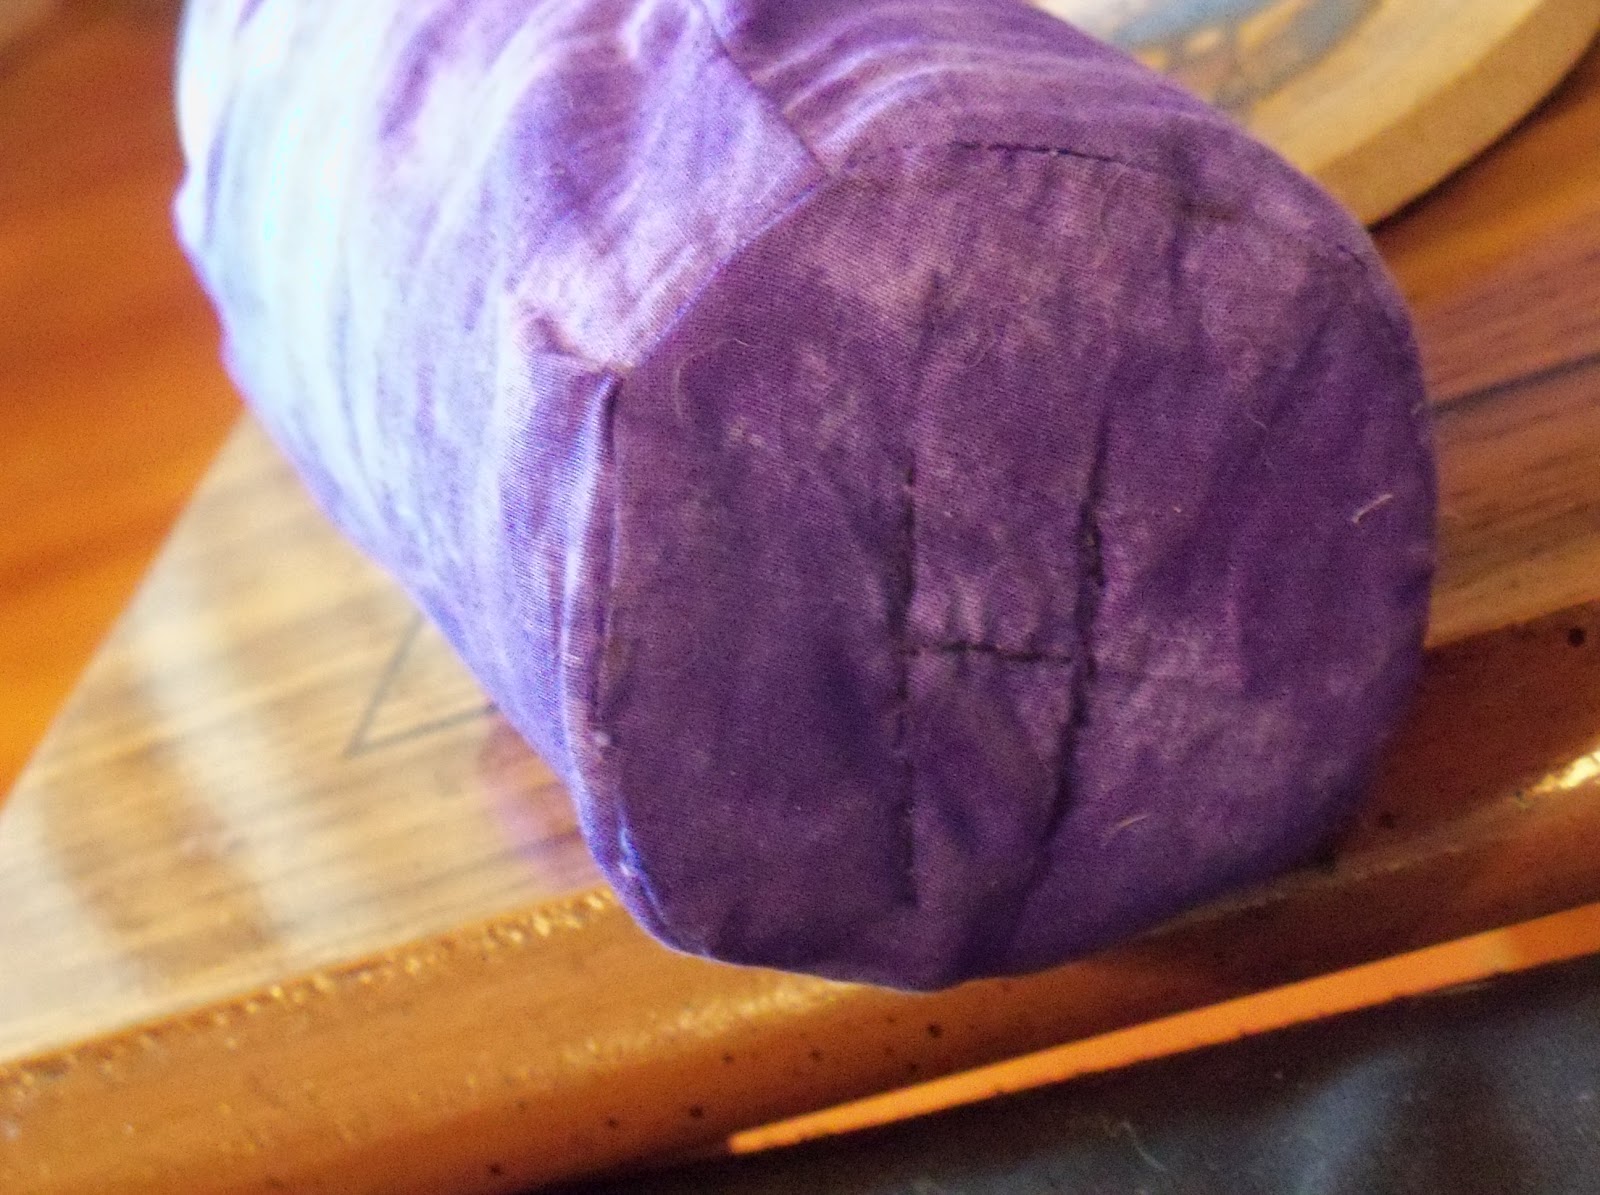
I wanted to make sure the layers stayed together so I did some 'embroidering' on the bottom. I made an H, but you could do anything really. I hand stitched this through all layers.
By no means is it perfect but hopefully it'll keep water sweat puddles from tables!
Let me know if you have questions or need help! :)
No comments:
Post a Comment